ESP32-AUDIO-KIT
The Ai-Thinker ESP32 Audio Kit is a development board for the ESP32 SoC from Espressif, based on Ai-Thinker ESP32-A1S audio module.
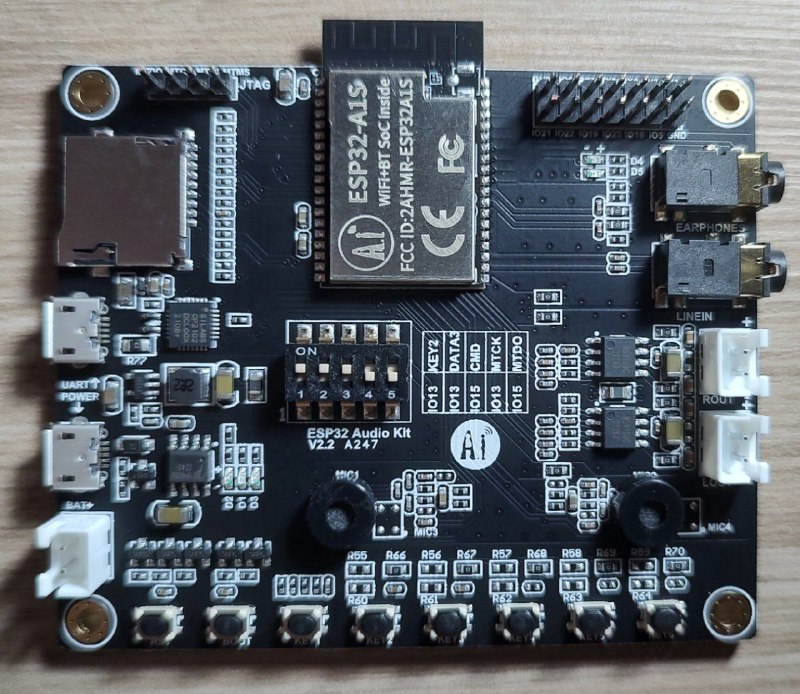
Ai-Thinker ESP32 Audio Kit board |
Features
ESP32-A1S module
Audio Earphones Output
Audio LINEIN Input
2 Microphones in the board (stereo audio input)
8 Buttons in the boards (1 RST Button and 7 user buttons)
MicroSD card slot
Some of the ESP32 I/O pins are broken out to the board’s pin header.
Serial Console
UART0 is, by default, the serial console. It connects to the on-board Silabs CP2102 converter and is available on the USB connector (UART label).
It will show up as /dev/ttyUSB[n] where [n] normally is 0 if you don’t have another USB/Serial adapter connected in your computer.
I/O Mapping
I/O |
Signal |
Notes |
|---|---|---|
0 |
BOOT Button |
|
2 |
DATA0 SDCard |
|
4 |
DATA1 SDCard |
|
5 |
KEY6 Button |
|
12 |
DATA2 SDCard |
|
13 |
KEY2 Button/DATA3 SDCard |
(DIP Switch) |
14 |
CLK SDCard |
|
15 |
CMD SDCard/JTAG MTDO |
(DIP Switch) |
18 |
KEY5 Button |
|
19 |
KEY3 Button/LED5 |
|
21 |
CTRL Audio AMP |
|
22 |
LED4 |
|
23 |
KEY4 Button |
|
34 |
SDCard Detect |
|
36 |
KEY1 Button |
Configurations
All of the configurations presented below can be tested by running the following commands:
$ ./tools/configure.sh esp32-audio-kit:<config_name>
$ make flash ESPTOOL_PORT=/dev/ttyUSB0 -j
Where <config_name> is the name of board configuration you want to use, i.e.: nsh, buttons, wifi…
Then use a serial console terminal like minicom or picocom configured to 115200 8N1.
audio
This configuration uses the I2S0 peripheral and the ES8388 audio codec present on the ESP32-Audio-Kit board to play an audio file streamed over HTTP while connected to a Wi-Fi network.
Simple HTTP server
Prepare a PCM-encoded (.wav) audio file with 16 bits/sample (sampled at 44.1kHz). This file must be placed into a folder in a computer that could be accessed on the same Wi-Fi network the ESP32 will be connecting to.
Python provides a simple HTTP server. cd to the audio file folder on the PC and run:
$ python3 -m http.server

Serving HTTP on 0.0.0.0 port 8000 (http://0.0.0.0:8000/)
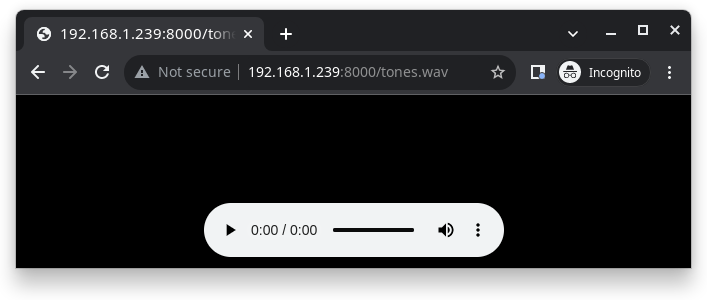
Look for your PC IP address and test playing the prepared audio on your browser:
After successfully built and flashed, connect the board to the Wi-Fi network:
$ nsh> wapi psk wlan0 mypasswd 3
$ nsh> wapi essid wlan0 myssid 1
$ nsh> renew wlan0
Once connected, open NuttX’s player and play the file according to its file name and the IP address of the HTTP server (For example tone.wav and 192.168.1.239:8000, respectively):
$ nsh> nxplayer
$ nxplayer> play http://192.168.1.239:8000/tone.wav
Note
The codec implementation on the LyraT board was validated using 16-bit, 44.1kHz WAV files. Other configurations might not work as expected.
nsh
Basic NuttShell configuration (console enabled in UART0, exposed via USB connection by means of FT2232HL converter, at 115200 bps).
wifi
Enables Wi-Fi support. You can define your credentials this way:
$ make menuconfig
-> Application Configuration
    -> Network Utilities
        -> Network initialization (NETUTILS_NETINIT [=y])
            -> WAPI Configuration
Or if you don’t want to keep it saved in the firmware you can do it at runtime:
nsh> wapi psk wlan0 mypasswd 3
nsh> wapi essid wlan0 myssid 1
nsh> renew wlan0
Tip
Please refer to ESP32 Wi-Fi Station Mode for more information.