Elegoo Mega2560 Rev3
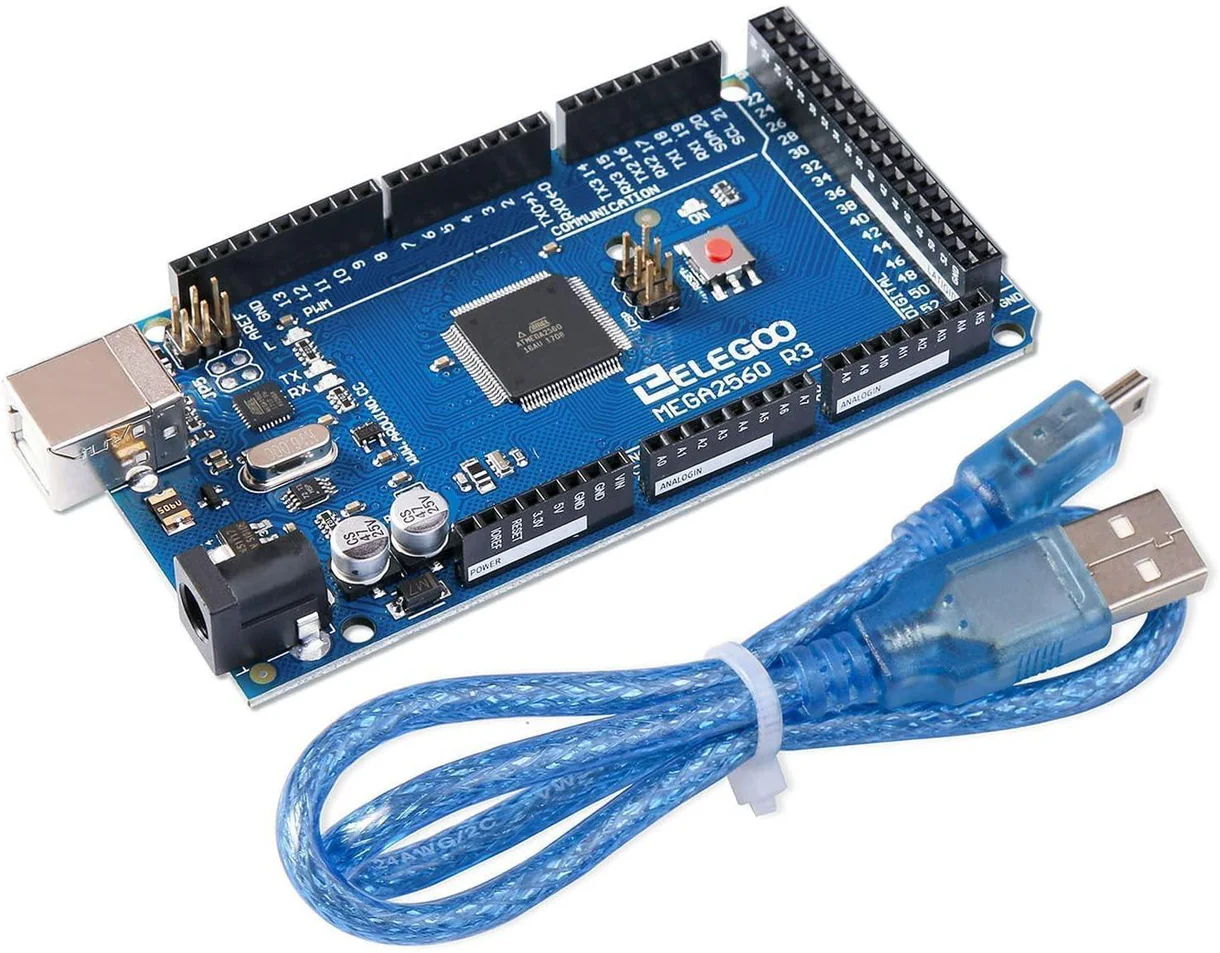
The Elegoo Mega2560 Rev3 board with its included USB cable
This board is a variant of the Arduino Mega2560 Rev3 board designed by Elegoo. The product listing can be found here.
Features
Atmel ATMega2560 chip
54 digital pins
16 analog inputs
4 serial ports
4KB EEPROM
Warning
The ATMega2560 chip supported is limited, and thus this board does not support many peripherals. If you would like to help improve support for this board and other ATMega2560-based boards, please see the contributing guidelines.
Pin Mapping
The full pin-out of this board is the same as the Arduino Mega2560r3 pinout, which can be found here.
Power Supply
This board uses 5V logic. It has on-board power regulation to provide 5V and 3.3V rails to the user. The 3.3V rail can only supply 50mA.
The board can be powered a few different ways:
Via the USB connection at 5V
Via external power supply to the barrel jack (center-positive) at 7V - 12V
Installation
You will need the avrdude utility to flash this board. For instructions on
how to install the AVR toolchain, consult the main documentation for the AVR
architecture.
Building NuttX
In order to build NuttX, you can follow the regular process of using
./tools/configure.sh and make.
$ ./tools/configure.sh elegoo-mega2560r3:nsh
$ make
The build system will generate a .hex file along with the typical ELF file.
If not, enable the CONFIG_INTELHEX_BINARY option.
Warning
Beware of the small memory size of this board’s chip when choosing what to include in your NuttX image.
Flashing
Then, to flash the board, connect it via USB to the host computer and run the following command:
$ avrdude -c stk500v2 -p m2560 -P /dev/ttyACM0 -U flash:w:nuttx.hex -v -D
This command assumes that the board USB connection is available on ttyACM0,
but you should verify the file path to its connection. You can use lsusb on
Linux to look for “Arduino SA Mega 2560 R3”.
If you want to reduce the console output of the command, remove the -v flag.
The board uses the STK500v2 programmer type through the on-board programmer,
hence the argument to -c. The argument to -p specifies the AVR device to
be the ATMega2560. The -U argument tells the program to write the
nuttx.hex image to flash.
Configurations
nsh
Very basic configuration with the nsh shell on the UART0 pins at a baud
rate of 38400. You can also access UART0 through the USB connector on your host
machine.